Deploy a PFN using GCP
This tutorial explains how to configure and deploy a PFN using Google Cloud (GCP). Running a PFN in the cloud usually provides better stability and availability compared to running it on your laptop.
This tutorial defaults to deploying a PFN in the Aptos devnet network. To connect to other networks
(e.g., mainnet and testnet), replace all instances of devnet with the appropriate network name.
Prerequisites
You can run the commands in this guide to deploy your PFN on Google Kubernetes Engine from any machine you want, e.g. a VM on GCP, Google Cloud Shell, or your personal computer.
The following packages are pre-installed with Cloud Shell. Make sure to review the documentation around ephemeral mode if you choose to use Cloud Shell. However, if you are running the installation from your laptop or another machine, you need to install:
- Terraform 1.3.6: https://www.terraform.io/downloads.html
- Kubernetes CLI: https://kubernetes.io/docs/tasks/tools/
- Google Cloud CLI: https://cloud.google.com/sdk/docs/install-sdk
After you have installed the gcloud CLI, log into GCP using gcloud:
gcloud auth login --update-adc
If you already have a GCP account setup, skip to Getting Started. If you do not have a GCP account, then follow the below sections to create and configure your GCP account.
GCP setup
Sign up for the 90-day free trial
Google Cloud offers a 90 day, $300 free trial for every new user. The $300 are given as credits to your account and you can use them to get a sense of Google Cloud products. Some GCP feature such as GPUs and Windows servers are not available in the free trial. Sign up for the credits, here.
Create a new GCP project
- Create a new project on the GCP Console or using the gcloud command from the Google Cloud CLI. Be sure to familiarize yourself with the resource hierarchy on GCP.
- Follow these instructions to setup a new project.
Enable billing, upgrade your account
You will still be able to use the free trial credits, but enabling billing allows you to have full access to all the features of GCP and not experience any interruption to your nodes. Upgrade your account by following the steps outlined here.
Additional GCP resources
This should be enough to get your GCP setup ready to start deploying your PFN. But if you are new to GCP, you may want to check out some of their guides and Google Cloud Skills Boost.
Getting started
From here on, this guide assumes that you have already set up your GCP account, and have created a new project for deploying an Aptos PFN.
You can deploy a PFN on GCP by using the Aptos Terraform module.
-
Create a working directory for your configuration.
- Choose a workspace name e.g.
devnet. Note: This defines the Terraform workspace name, which in turn is used to form resource names. Feel free to choose a different name if you are connecting to a different network.
export WORKSPACE=devnet- Create a directory for the workspace
mkdir -p ~/$WORKSPACE - Choose a workspace name e.g.
-
Create a storage bucket for storing the Terraform state on Google Cloud Storage. Use the console or this gcs command to create the bucket. The name of the bucket must be unique. See the Google Cloud Storage documentation, here.
gsutil mb gs://BUCKET_NAME
# for example
gsutil mb gs://<project-name>-aptos-terraform-dev
- Create Terraform file called
main.tfin your working directory:
cd ~/$WORKSPACE
touch main.tf
- Modify the
main.tffile to configure Terraform and create a PFN from the Terraform module.
Note: If you are using a different version of Terraform, you will need to use the tfenv command to change the required version.
You can find the Docker image tag for devnet on the Aptos Docker Hub.
If you wish to connect to a different network than devnet, you will need to find the appropriate Docker image
tag for that network and replace all references to it.
Example content for main.tf:
terraform {
  required_version = "~> 1.3.6"
  backend "gcs" {
    bucket = "BUCKET_NAME" # bucket name created in step 2
    prefix = "state/fullnode"
  }
}

module "fullnode" {
  # download Terraform module from aptos-labs/aptos-core repo
  source        = "github.com/aptos-labs/aptos-core.git//terraform/fullnode/gcp?ref=main"
  region        = "us-central1"  # Specify the region
  zone          = "c"            # Specify the zone suffix
  project       = "gcp-fullnode" # Specify your GCP project ID
  fullnode_name = "BUCKET_NAME" #bucket name created in step 2
  era           = 1              # bump era number to wipe the chain
  image_tag     = "devnet" # Specify the docker image tag
}
- Initialize Terraform in the same directory of your
main.tffile:
terraform init
This will download all the Terraform dependencies into the .terraform folder.
- Create a new Terraform workspace to isolate your environments:
terraform workspace new $WORKSPACE
# This command will list all workspaces
terraform workspace list
- Apply the configuration:
terraform apply
This might take a while to finish (10 - 20 minutes), Terraform will create all the resources on your cloud account.
Validation
Once Terraform apply finishes, you can follow this section to validate your deployment.
- Configure your Kubernetes client to access the cluster you just deployed:
gcloud container clusters get-credentials aptos-$WORKSPACE --zone <region_zone_name> --project <project_name>
# for example:
gcloud container clusters get-credentials aptos-devnet --zone us-central1-a --project aptos-fullnode
- Check that your PFN pods are now running (this may take a few minutes):
kubectl get pods -n aptos
You should see this:
NAME                       READY   STATUS    RESTARTS   AGE
devnet0-aptos-fullnode-0   1/1     Running   0          56s
- Get your PFN IP:
kubectl get svc -o custom-columns=IP:status.loadBalancer.ingress -n aptos
You should see something like this:
[map[ip:104.198.36.142]]
- Check the REST API, make sure that the ledger version is increasing:
curl http://<IP>/v1
# Example command syntax: curl http://104.198.36.142/v1
You should see this something like this:
{"chain_id":25,"epoch":"22","ledger_version":"9019844","oldest_ledger_version":"0","ledger_timestamp":"1661620200131348","node_role":"full_node","oldest_block_height":"0","block_height":"1825467"}
-
To verify the correctness of your PFN, you will need to:
- Set up a port-forwarding mechanism directly to the Aptos pod in one ssh terminal, and
- Test it in another ssh terminal.
Follow the below steps:
-
Set up the port-forwarding to the aptos-fullnode pod. Use
kubectl get pods -n aptosto get the name of the pod:kubectl port-forward -n aptos <pod-name> 9101:9101
# for example:
kubectl port-forward -n aptos devnet0-aptos-fullnode-0 9101:9101 -
Open a new ssh terminal. Execute the following curl calls to verify the correctness:
curl -v http://0:9101/metrics 2> /dev/null | grep "aptos_state_sync_version{type=\"synced\"}"

curl -v http://0:9101/metrics 2> /dev/null | grep "aptos_connections{direction=\"outbound\"" -
Exit port-forwarding when you are done by entering control-c in the terminal.
PFN identity and seed peers
Static identity
If you want to configure your node with a static identity, first see the Generate a PFN Identity tutorial to generate a static identity, and then follow the below instructions to configure your Terraform file.
-
Generate a static identity for your PFN by following the guide: Creating a static identity for a PFN.
-
Modify the
main.tfto addfullnode_identityentries infullnode_helm_values. This will configure the identity for the PFN. Insert the correct values for your PFN's identity attributes. For example:
module "fullnode" {
  # download Terraform module from aptos-labs/aptos-core repo
  source        = "github.com/aptos-labs/aptos-core.git//terraform/fullnode/gcp?ref=main"
  region        = "us-central1"  # Specify the region
  zone          = "c"            # Specify the zone suffix
  project       = "gcp-fullnode" # Specify your GCP project name
  era           = 1              # bump era number to wipe the chain
  image_tag     = "devnet"       # Specify the docker image tag to use

  fullnode_helm_values = {
    chain = {
      name = "devnet"
    }
    # create fullnode from this identity config, so it will always have same peer id and address
    fullnode_identity = {
      type = "from_config"
      key = "B8BD811A91D8E6E0C6DAC991009F189337378760B55F3AD05580235325615C74"
      peer_id = "ca3579457555c80fc7bb39964eb298c414fd60f81a2f8eedb0244ec07a26e575"
    }
  }
}
- Apply Terraform changes:
terraform apply
Seed peers
You can add seed peers to allow your PFN to connect to specific nodes. See the guide Generate a PFN Identity for more information.
-
Obtain the seed peer information.
-
Modify the
main.tfto add the seed peers infullnode_helm_values. This will configure the seeds for the PFN. For example:
module "fullnode" {
    # download Terraform module from aptos-labs/aptos-core repo
    source        = "github.com/aptos-labs/aptos-core.git//terraform/fullnode/gcp?ref=main"
    region        = "us-central1"  # Specify the region
    zone          = "c"            # Specify the zone suffix
    project       = "gcp-fullnode" # Specify your GCP project name
    era           = 1              # bump era number to wipe the chain
    image_tag     = "dev_5b525691" # Specify the docker image tag to use

    fullnode_helm_values = {
      # add a list of peers as upstream
      aptos_chains = {
        devnet = {
          seeds = {
            "bb14af025d226288a3488b4433cf5cb54d6a710365a2d95ac6ffbd9b9198a86a" = {
            addresses = ["/dns4/pfn0.node.devnet.aptoslabs.com/tcp/6182/noise-ik/bb14af025d226288a3488b4433cf5cb54d6a710365a2d95ac6ffbd9b9198a86a/handshake/0"]
            role = "Upstream"
            },
            "7fe8523388084607cdf78ff40e3e717652173b436ae1809df4a5fcfc67f8fc61" = {
            addresses = ["/dns4/pfn1.node.devnet.aptoslabs.com/tcp/6182/noise-ik/7fe8523388084607cdf78ff40e3e717652173b436ae1809df4a5fcfc67f8fc61/handshake/0"]
            role = "Upstream"
            },
            "f6b135a59591677afc98168791551a0a476222516fdc55869d2b649c614d965b" = {
            addresses = ["/dns4/pfn2.node.devnet.aptoslabs.com/tcp/6182/noise-ik/f6b135a59591677afc98168791551a0a476222516fdc55869d2b649c614d965b/handshake/0"]
            role = "Upstream"
            }
          }
        }
      }
    }
  }
- Apply Terraform changes:
terraform apply
Check logging
To check the logs of the pod, use the following commands:
# Get a list of the pods
kubectl get pods -n aptos

# Get logs of the pod
kubectl logs <pod-name> -n aptos
# for example:
kubectl logs devnet0-aptos-fullnode-0 -n aptos
When using GKE, the logs of the cluster and pod will automatically show up in the Google Cloud console. From the console menu, choose Kubernetes Engine. From the side menu, choose Workloads. You will see all the pods from the cluster listed.
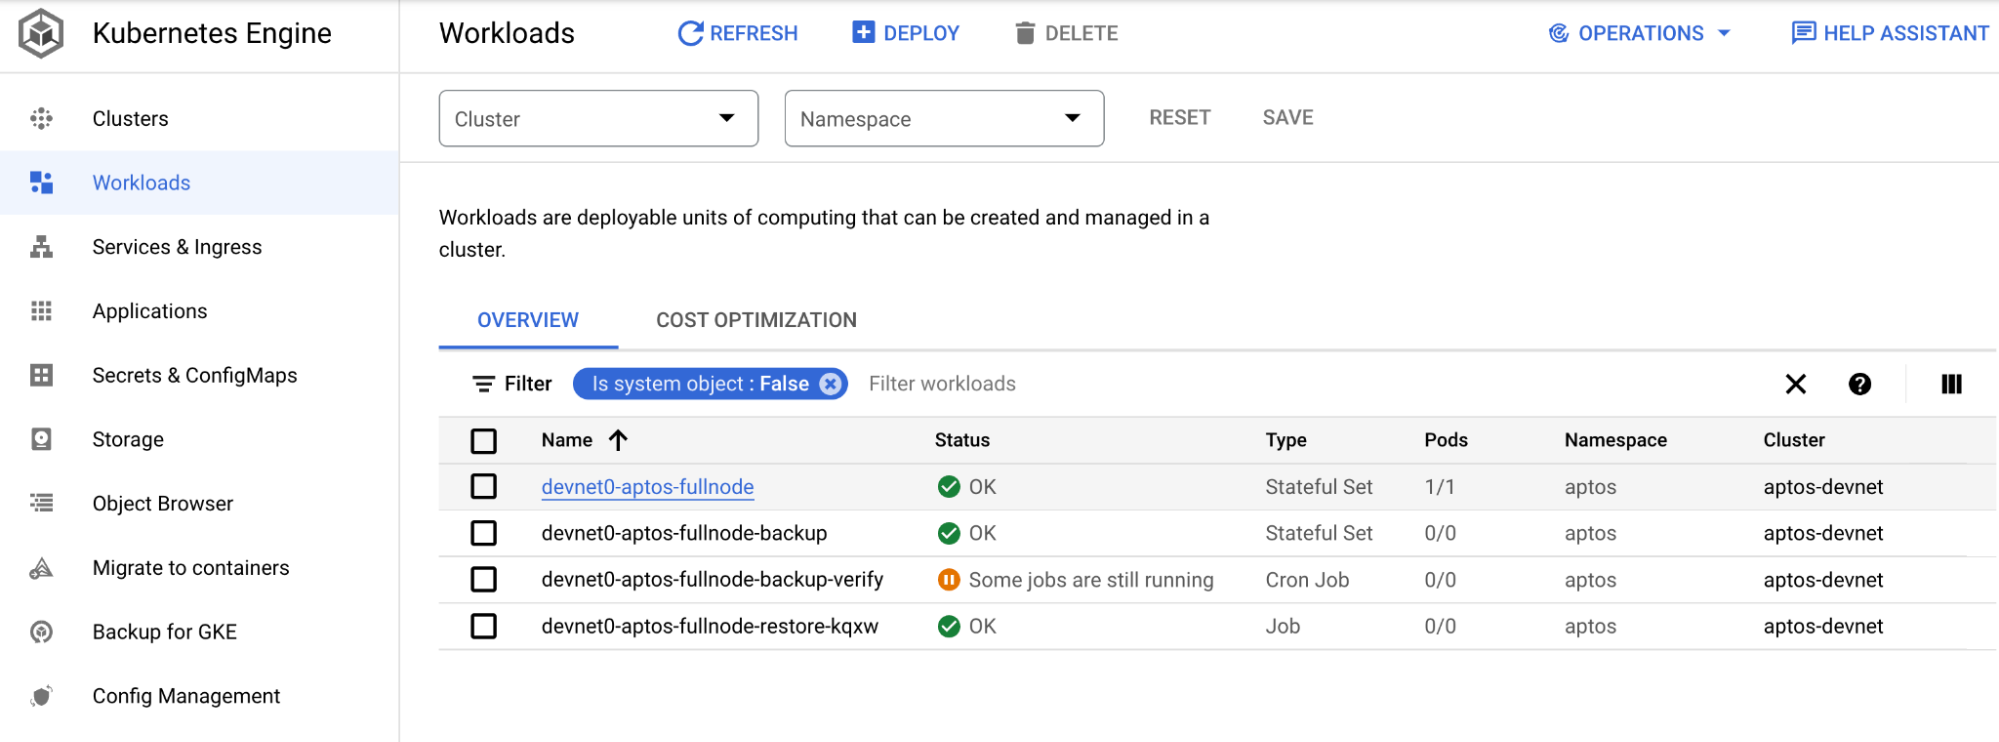
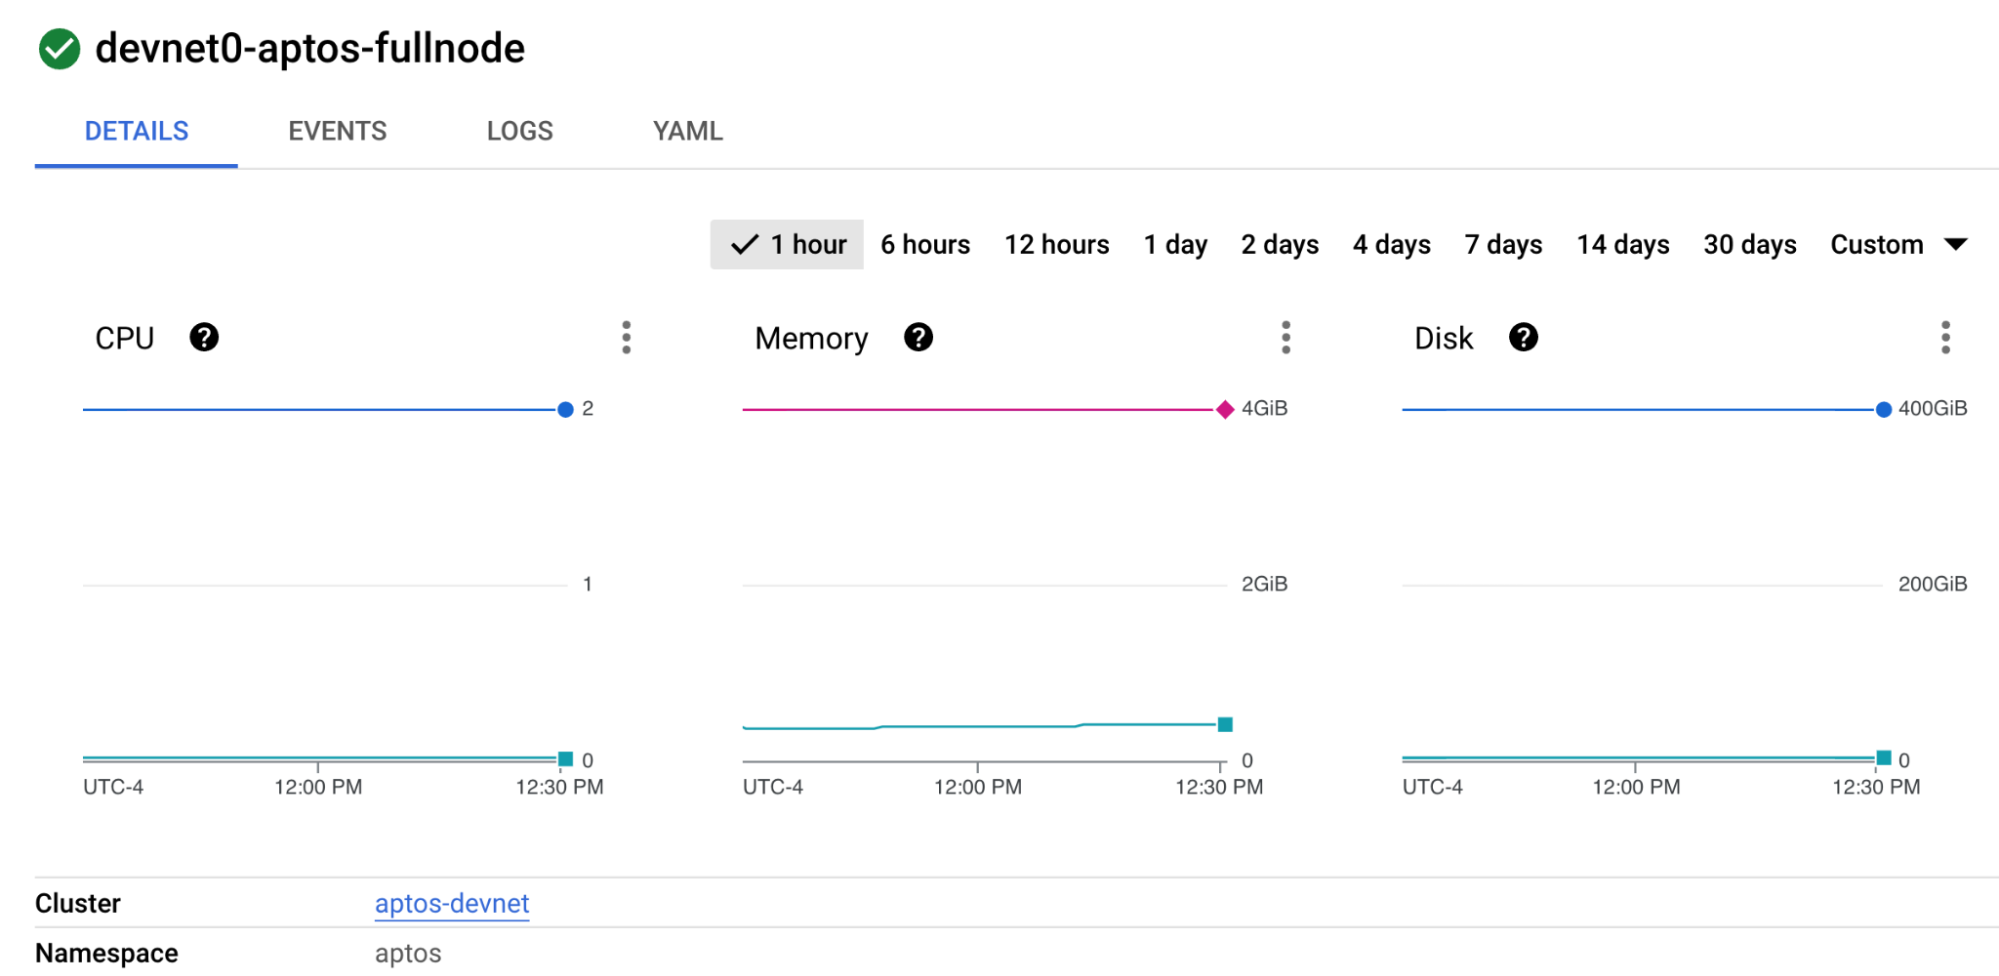
The devnet0-aptos-fullnode is the pod that is running the aptos fullnode container. Click on the pod to view details. You will see some metrics and other details about the pod.
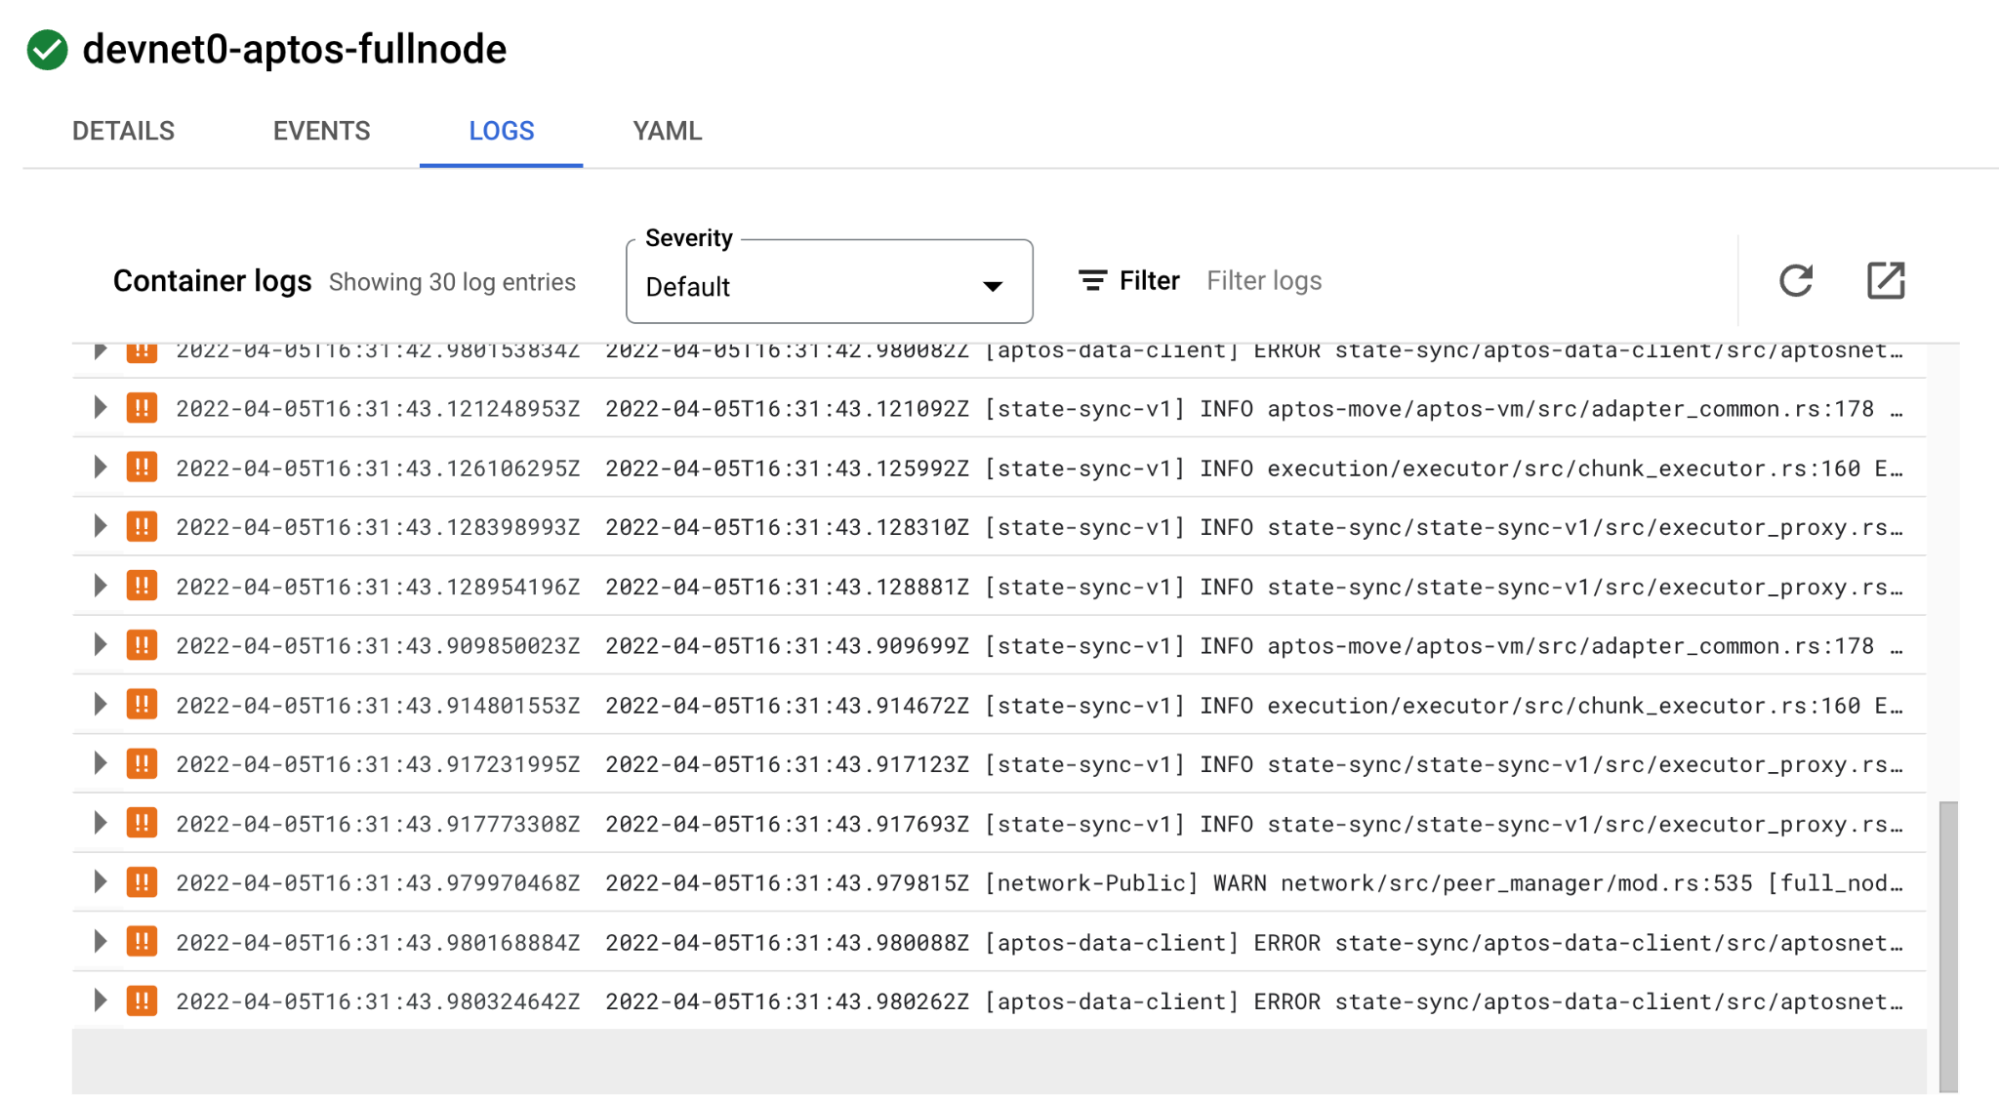
Click the LOGS tab to view the logs directly from the pod. If there are errors in the pod, you will see them here.
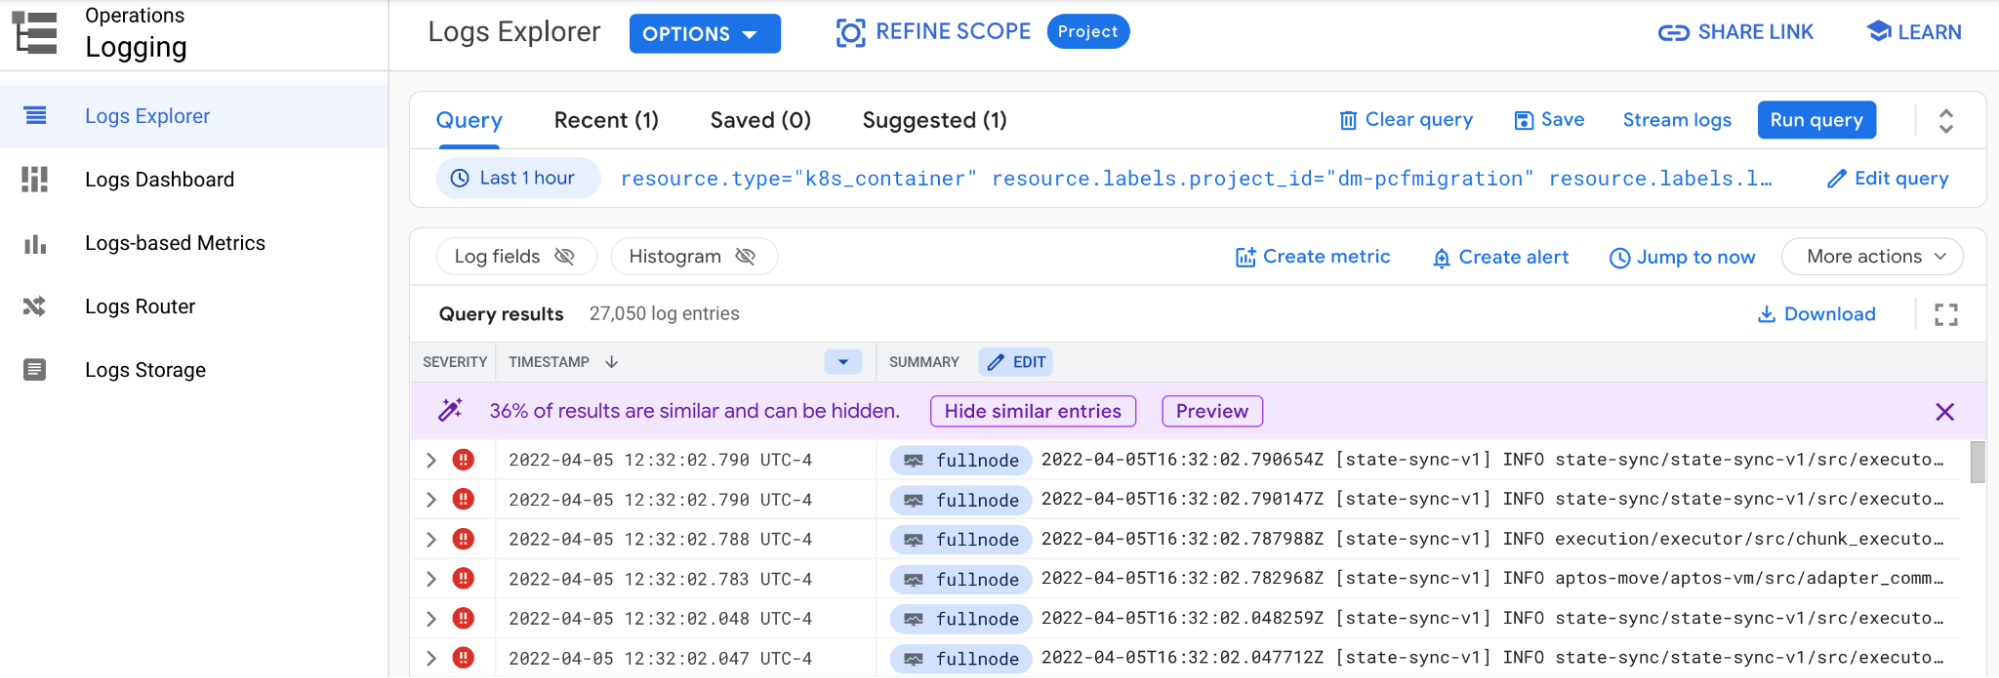
Click the open in new window icon to view the logs in the Log Explorer. This screen allows advanced searching in the logs.
Other logging insights are available in the Logs Dashboard
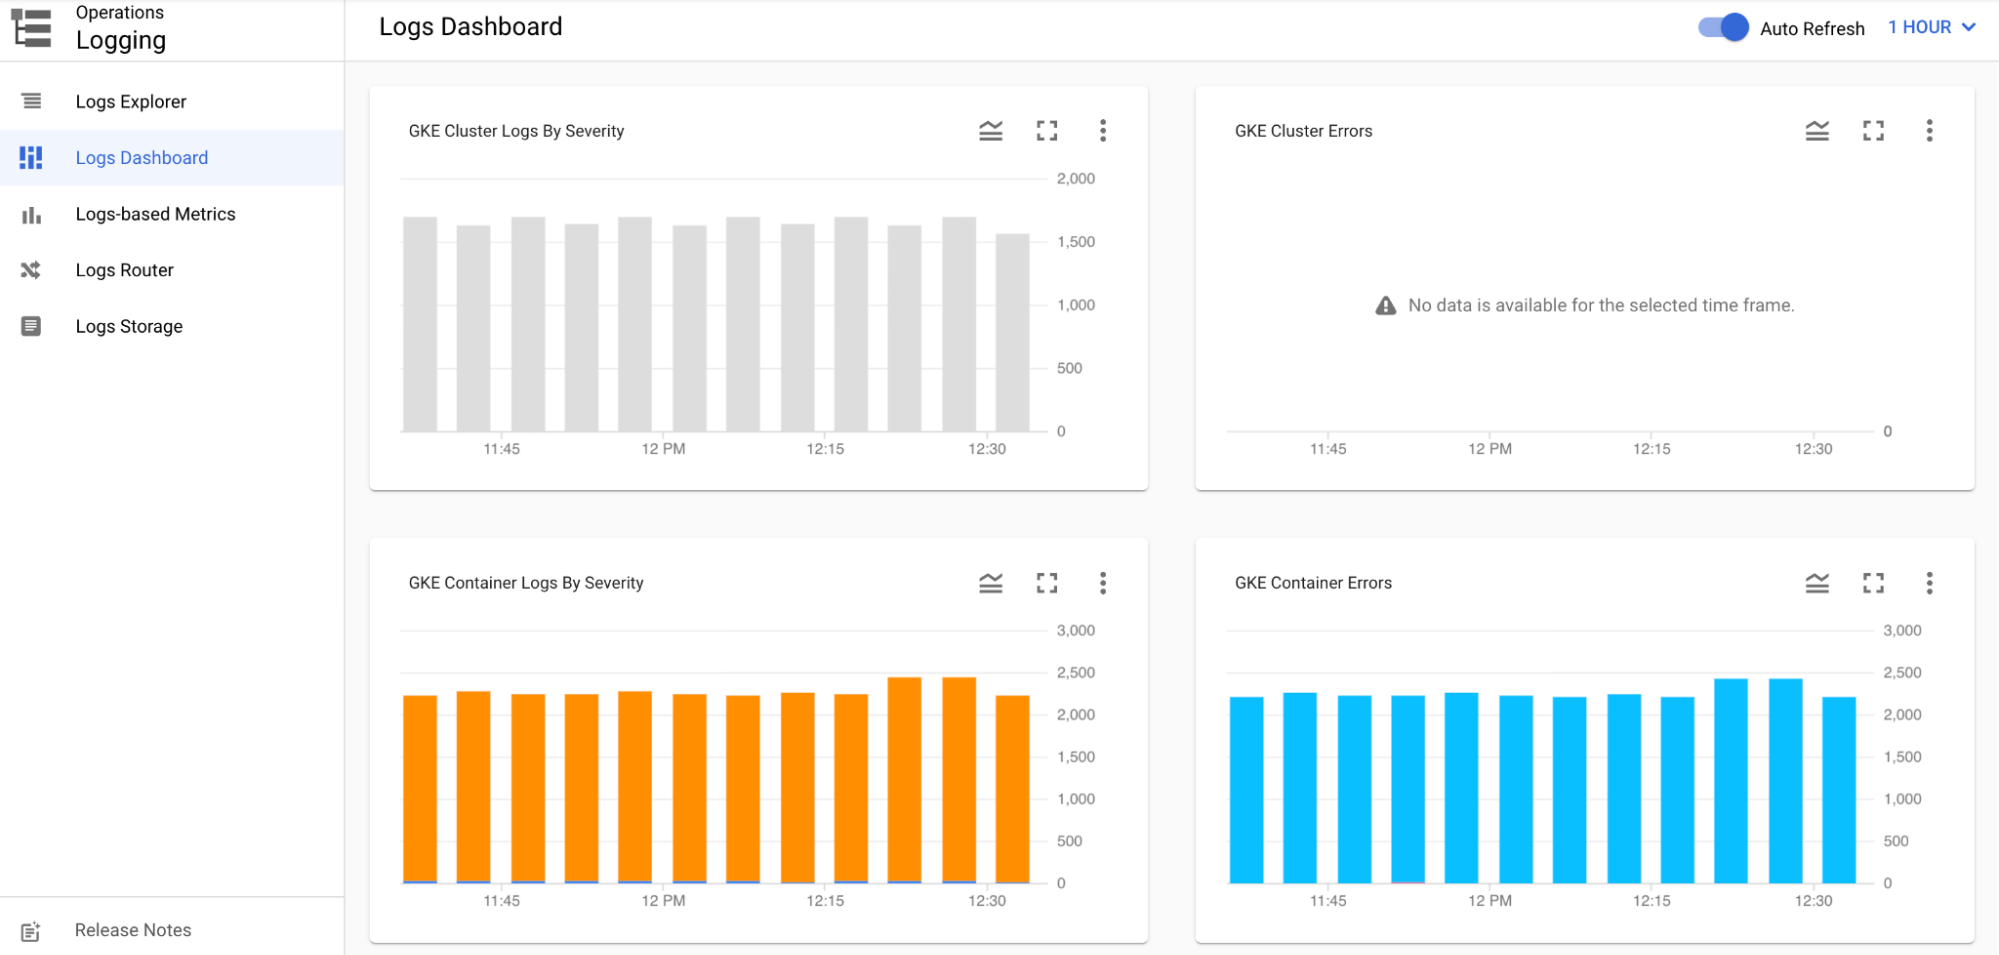
Additional features are available through Cloud Logging, including creating log-based metrics, logging sinks and log buckets.
Check monitoring
Google cloud captures many metrics from the cluster and makes them easily viewable in the console. From the console menu, choose Kubernetes Engine. Click on the cluster that aptos is deployed to. Click on the Operations link at the top right. Click on the Metrics sub-tab to view specific cluster metrics.
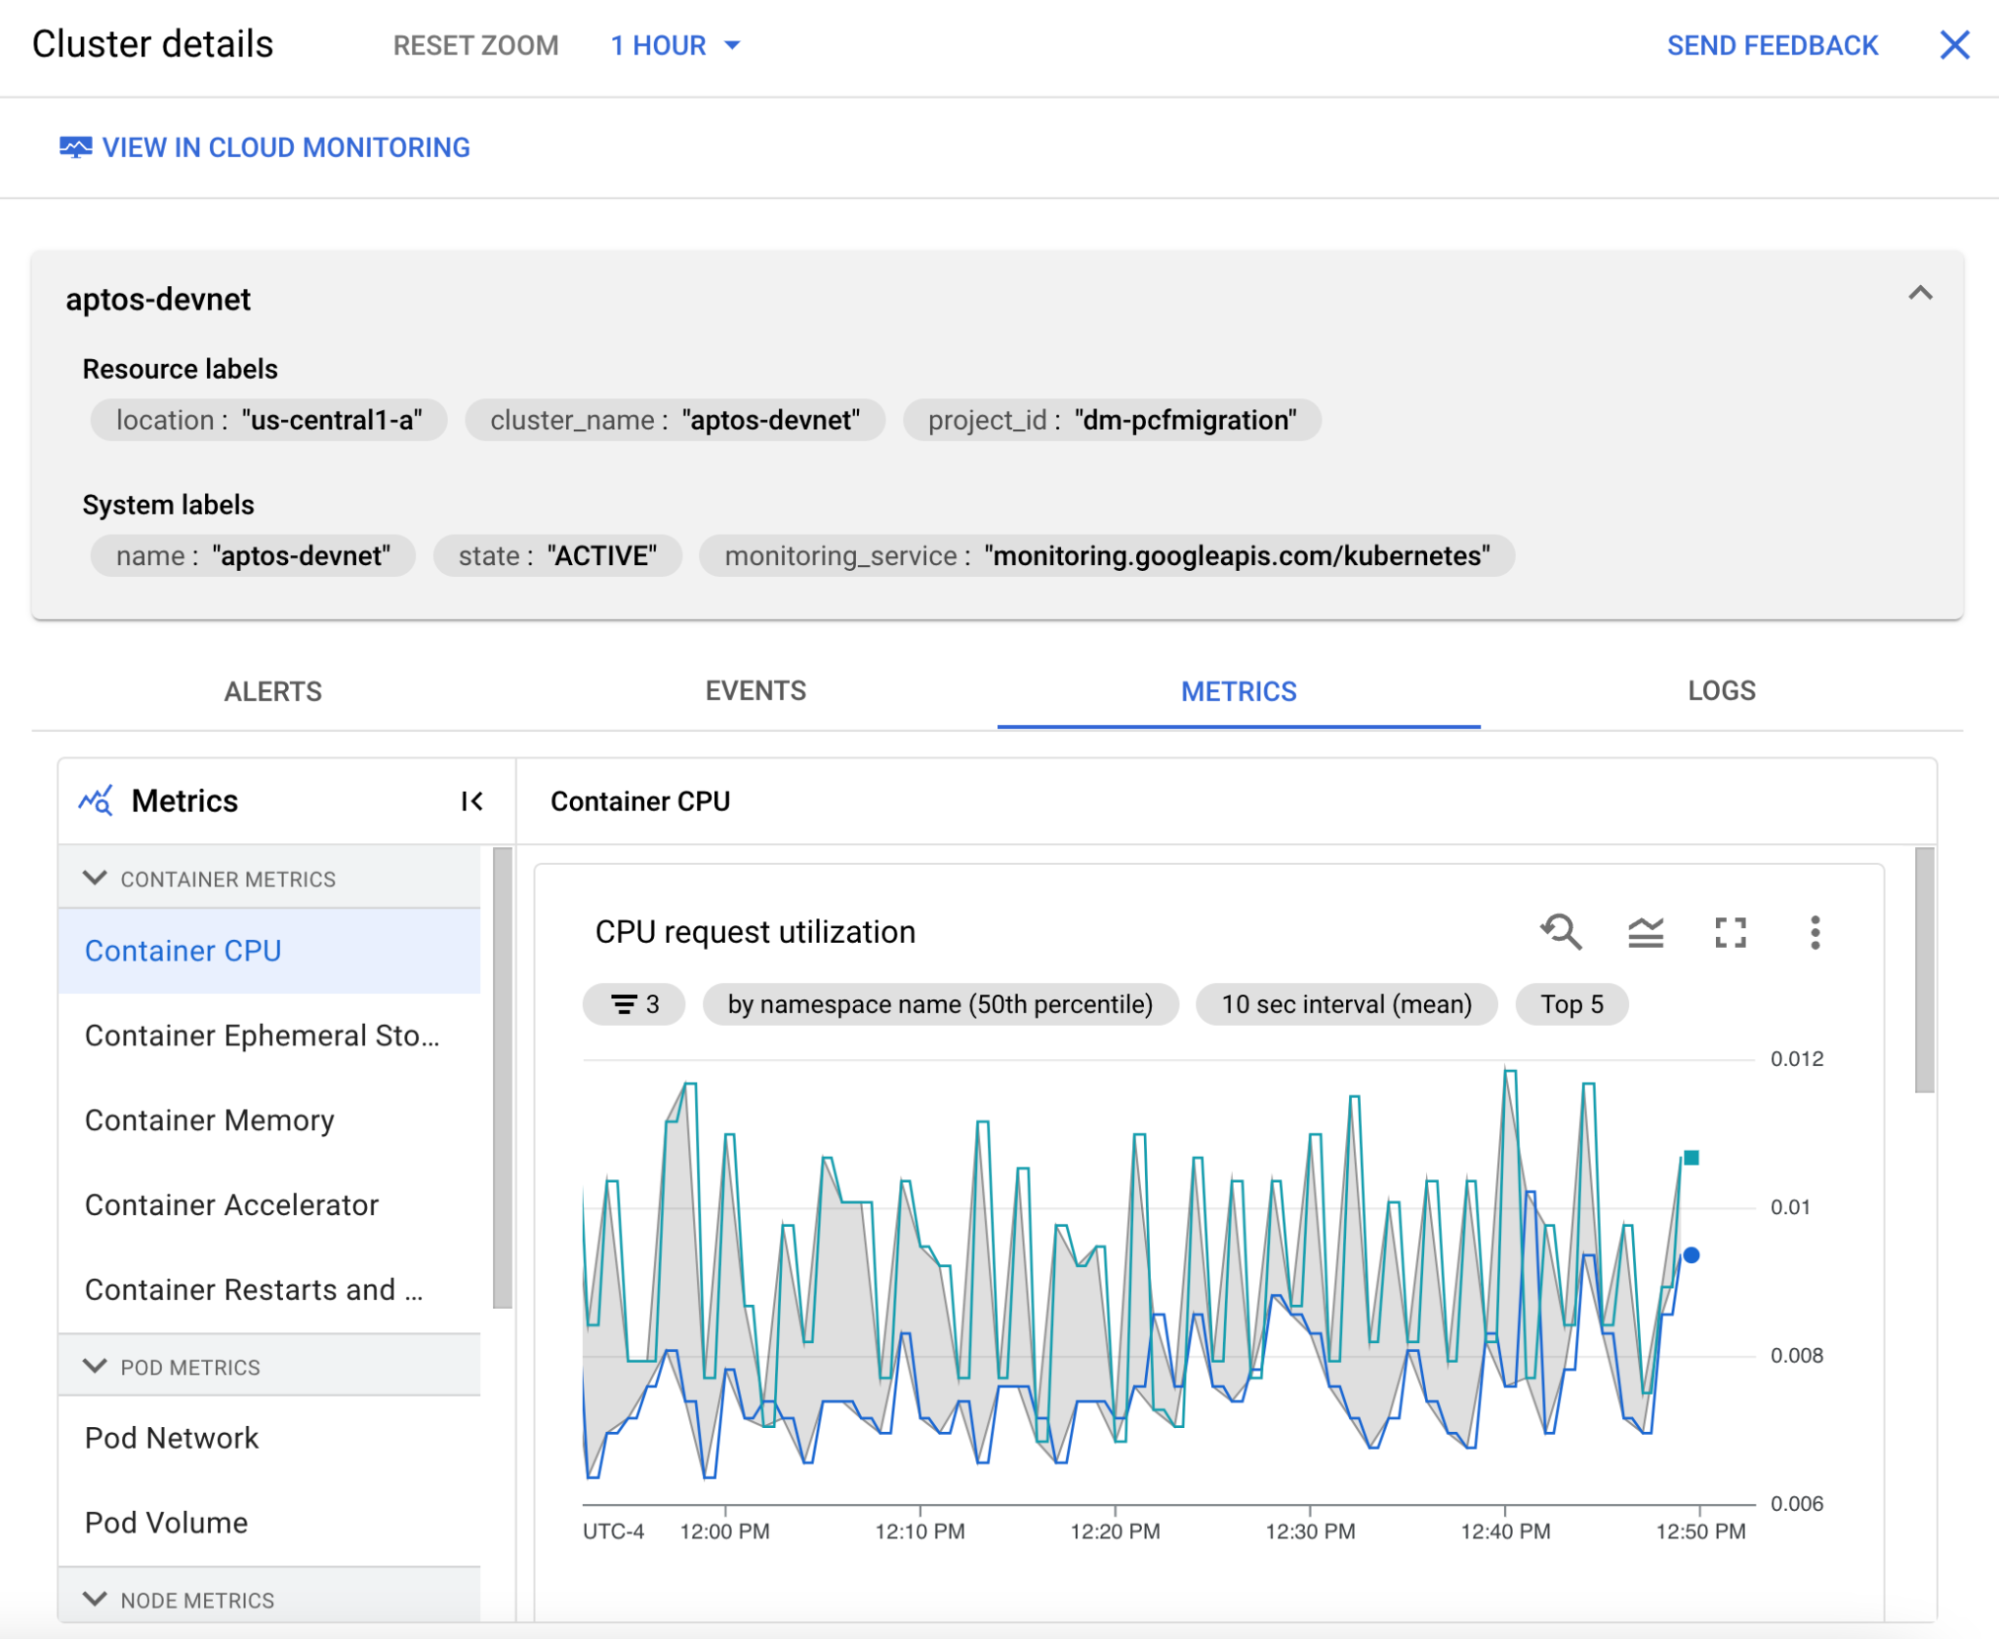
Click the View in Cloud Monitoring link at the top to view the built-in GKE dashboard for the cluster.
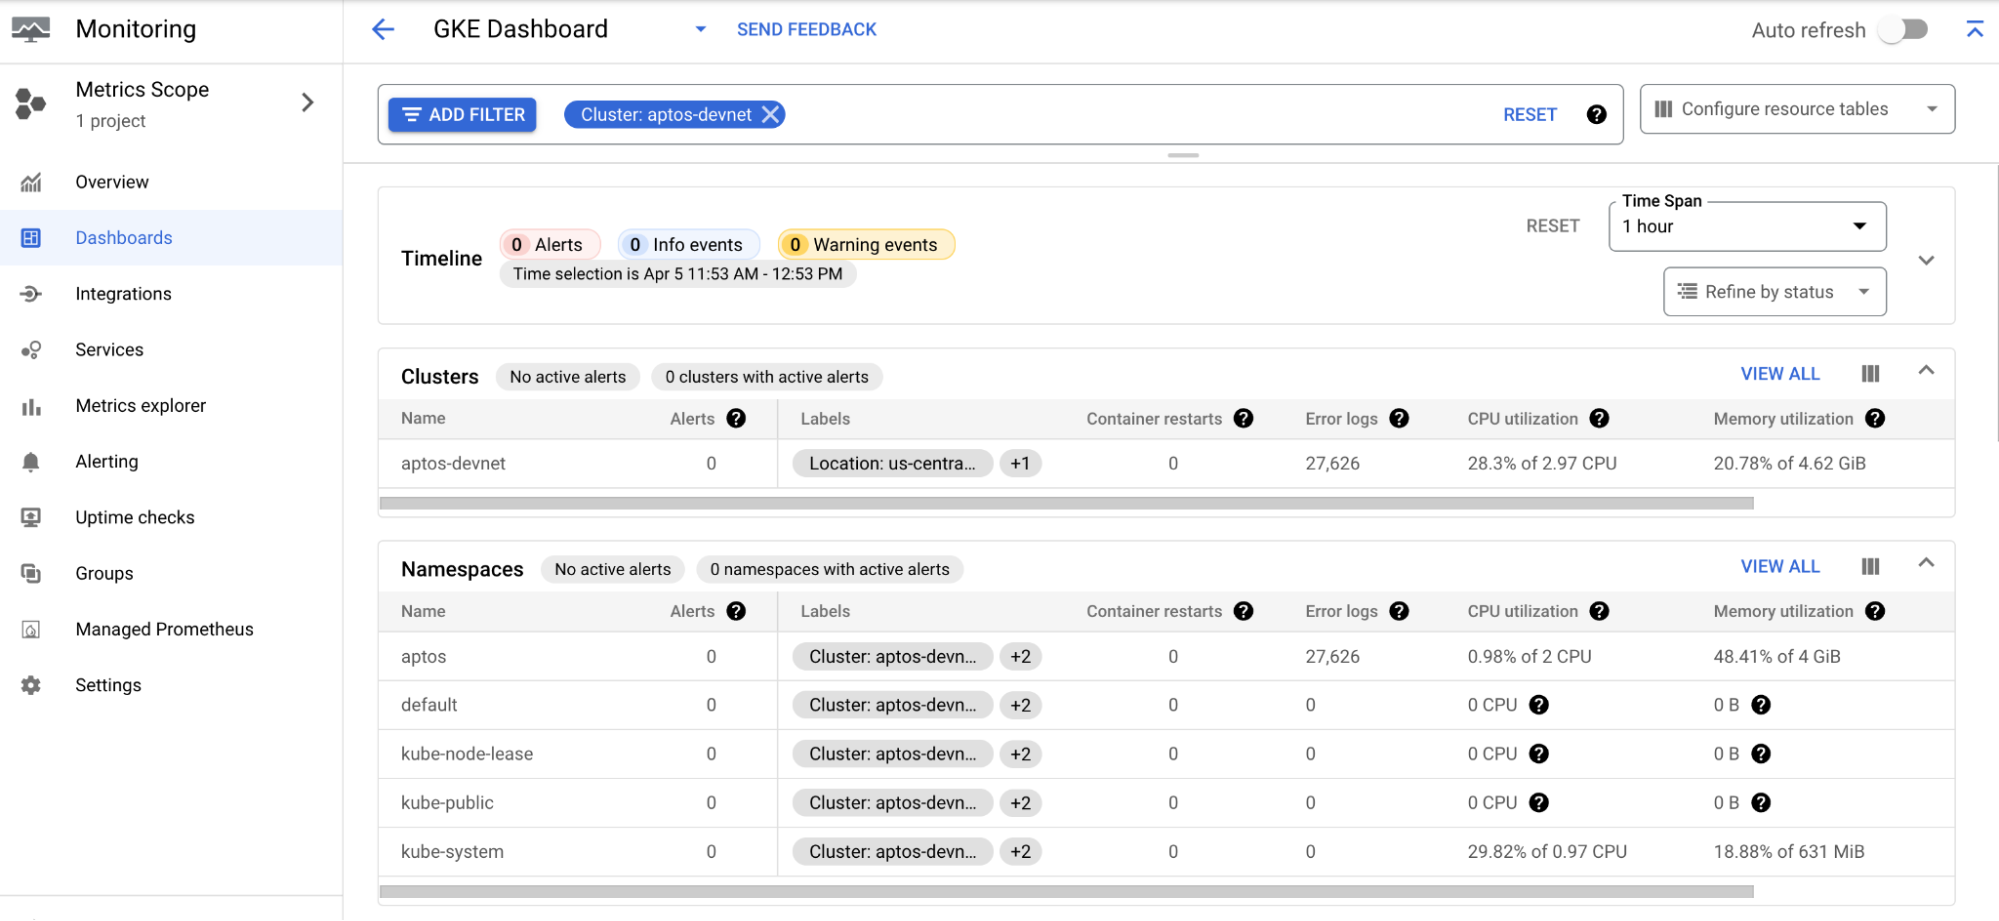
Google Cloud Monitoring has many other features to easily monitor the cluster and pods. You can configure uptime checks for the services and configure alerts for when the metrics reach a certain threshold.
If you want to verify that your PFN is running correctly, you can follow the instructions in the Verify a PFN guide.